Costermonger Bag Pattern - PDF DOWNLOAD
Costermonger Bag Pattern - PDF DOWNLOAD
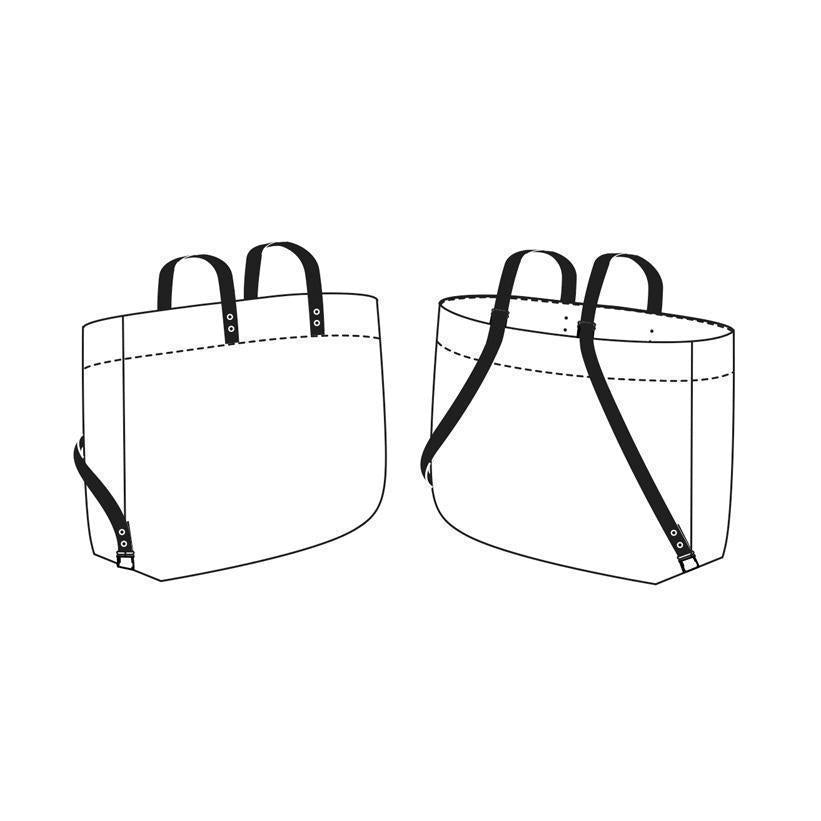
The Costermonger is the essential market tote designed as a backpack. Fill it up with wholesome goodies, leaving your hands free to tickle your dog. This is a simple satisfying sew that uses little fabric so ideal for using up some of your stash or making as a present.
Skill Level: Beginner
Format: This is a one-size digital PDF pattern sent to your email.
- This PDF pattern is made up of 1 A0 page and 19 A4 (or US Letter) pages.
PDF's will include a tiled file, an A0 copy shop file, and your instructions. The tiled file can be used on any home printer and pieced together. It is compatible with both A4 and US letter paper. The instructions can either be printed at home or simply follow along on your computer or phone.
Seam allowances are 1.5cm and are included in the pattern.
We can print your A0 pattern for you at gather here!
Choose the PDF + Wide-Format Print option to receive both the PDF download (sent to your email) and the Costermonger Bag pattern printed on 1 sheet of 36" wide paper. You won't even need to upload the file you just downloaded from us!
Need your instruction booklet printed, too?
We are now offering US Letter (8.5" x 11") sized printing for smaller format patterns and instructions! The Costermonger Bag includes 13 pages of instructions. Please see the listing at this link for more information!
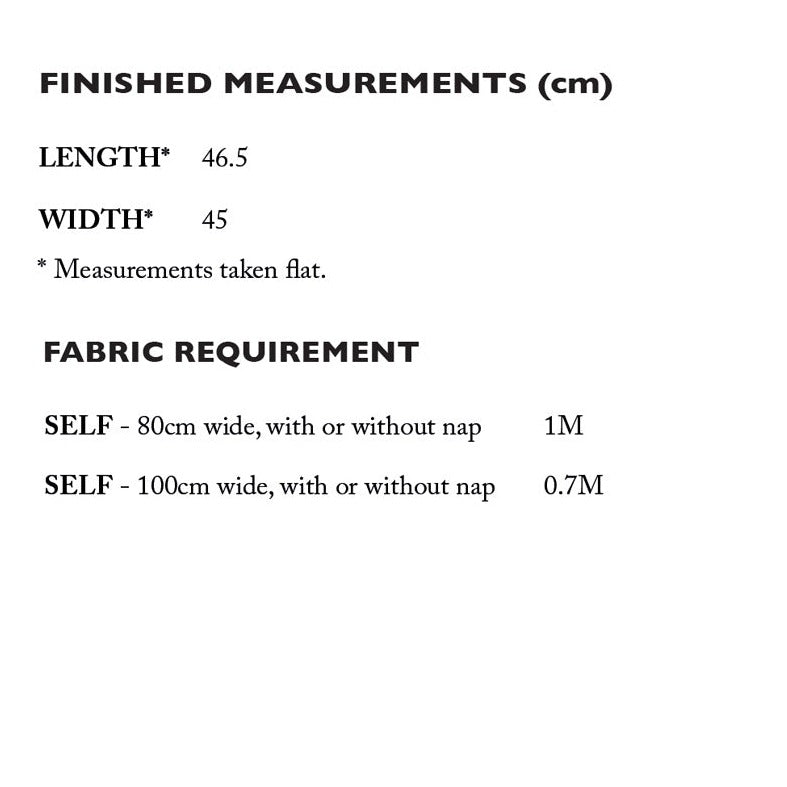
Fabric Requirements: (this is an unlined bag)
- < 98cm [38"] wide: 0.95M [1yd]
- 100cm [39"] or wider: 0.70M [3/4yd]
Materials and hardware:
- 8 x 9mm rivets or chicago screws
- 4 x 25mm [1″] metal sliders
- 2 x 25mm [1″] Leather Strap 89cm [35"] long (if you are buying the Merchant & Mills leather straps they come about 145cm [57"] long so you will need two of these)
- Matching thread
Suggested Fabrics:
Dry Oilskin, Mid-Heavy weight Cotton Canvas or Drill, Mid weight Denim (8-14oz)
Finished Measurements
45cm L x 40cm W
We recommend the split cowhide leather straps as they move the smoothest through the sliders. But if you would prefer to use webbing instead of leather you would simply tuck it under the facing and top stitch it on the right side.
When inserting the rivets we recommend using a very solid surface like a cement floor so there is no movement. You will just need a hammer to set the rivets, but you will need something to make a hole in your leather, we recommend a revolving hole punch.
Return Policy + Shipping Info
Return Policy + Shipping Info


